This tutorial is a step-by-step guide to use Git FTP along with Git for your projects
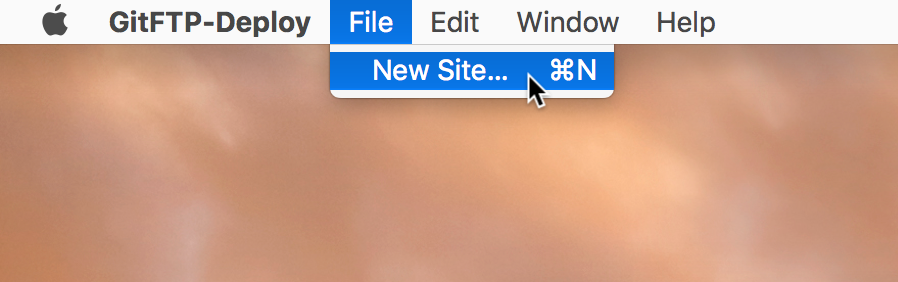
1. Create a new site
2. Fill select your git repository
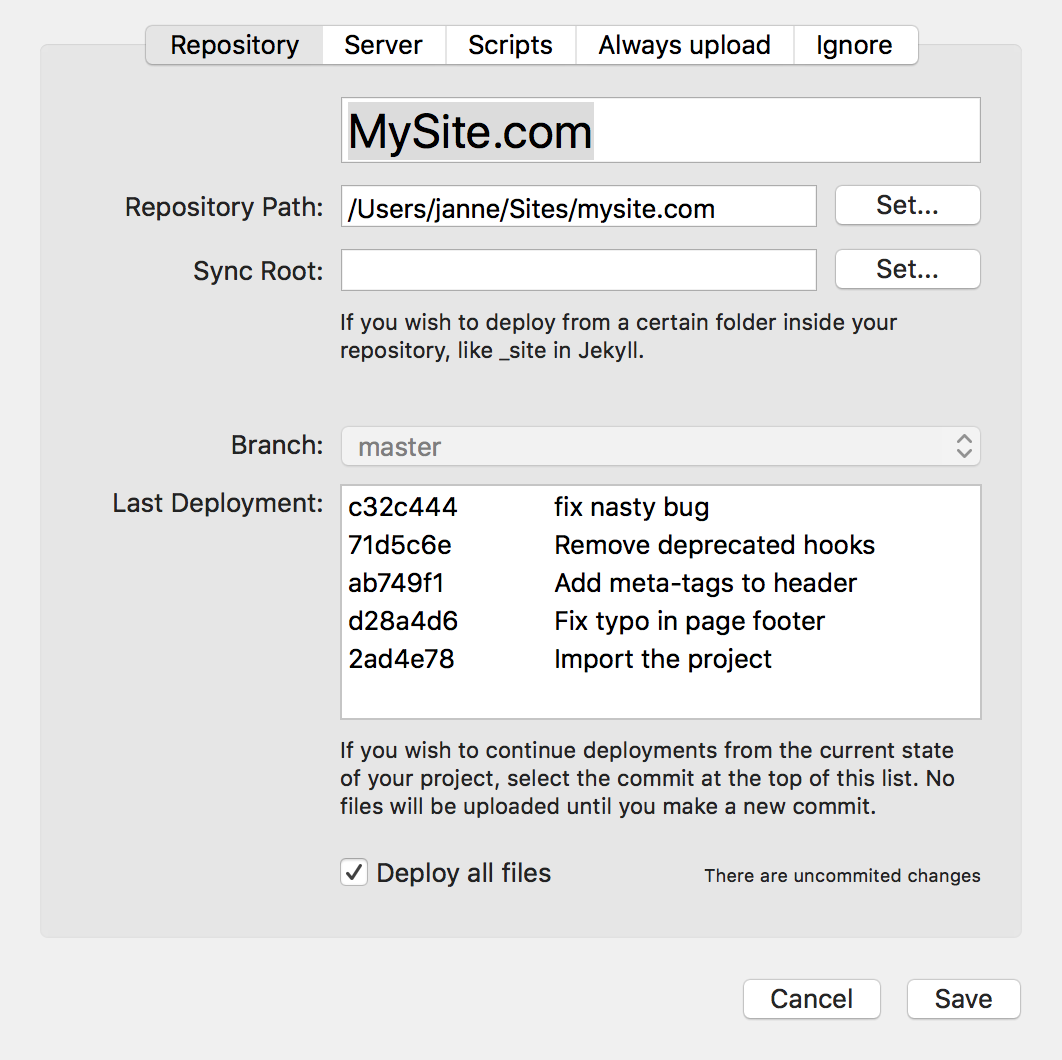
Repository path – path to your local git repository.
Sync Root – a path within your repository that you wish on the only upload. If you are committing design document and other files that you don’t want to upload to the server.
Branch – git-branch you wish to deploy. It’s recommended to use a different branch for development and deployment if you are using the auto-deploy-feature.
Current – the last commit deployed on site. If you have never deployed check “Deploy All Files.” Once set GitFTP-Deploy will automatically take care of this.
3. Set up server connection
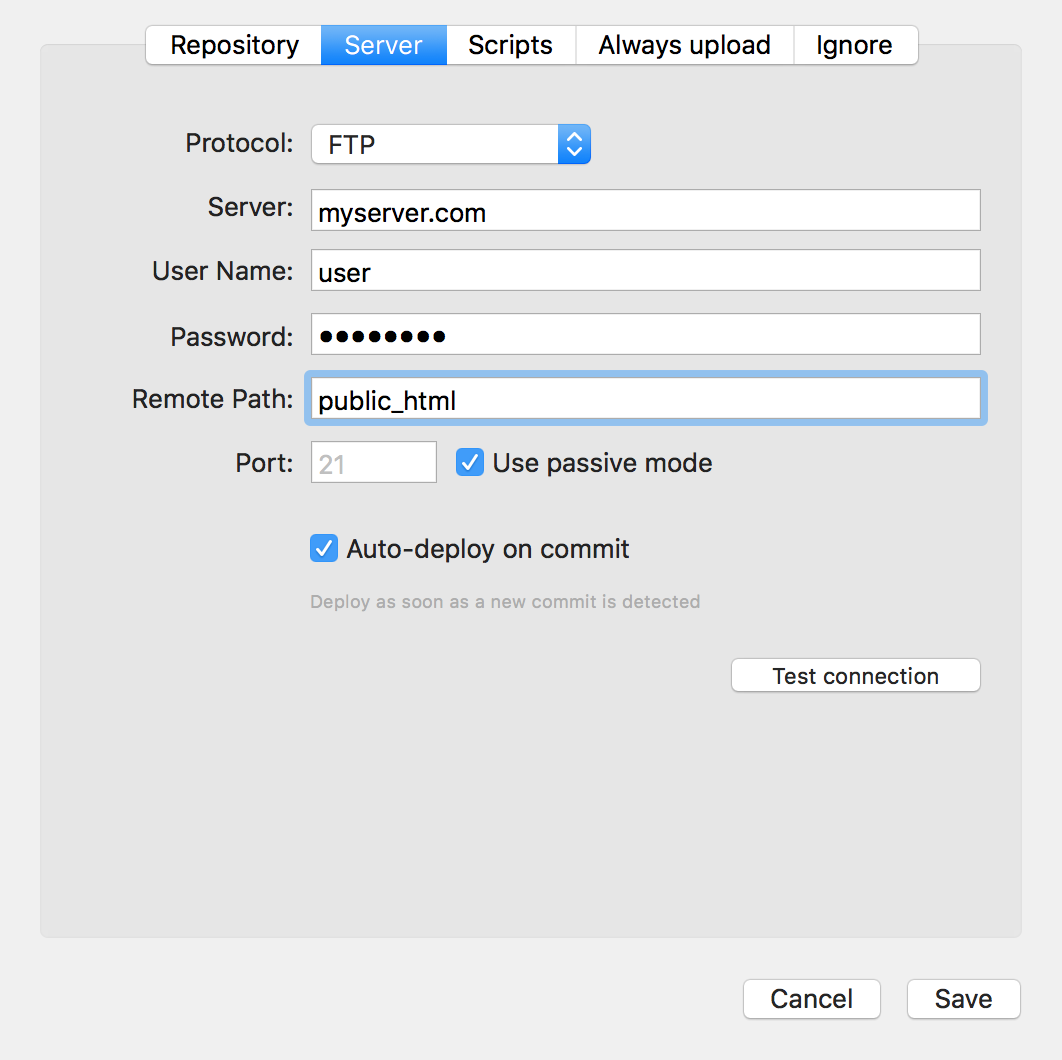
Protocol – FTP, SFTP and FTPS is available
Server – Domain name or IP-address to your server
User Name – Your username
Password – If you are using password-less login and have keys, leave this empty and GitFTP-Deploy will find the keys automatically. [Read more here].
Remote Path – The remote path from where is your home on your server
Port – If you are using any custom ports, you can fill it in here. Otherwise, leave this empty.
Auto-deploy on commit – When this feature is enabled, a deployment is triggered every on every commit. Can very convenient but also a bit risky.
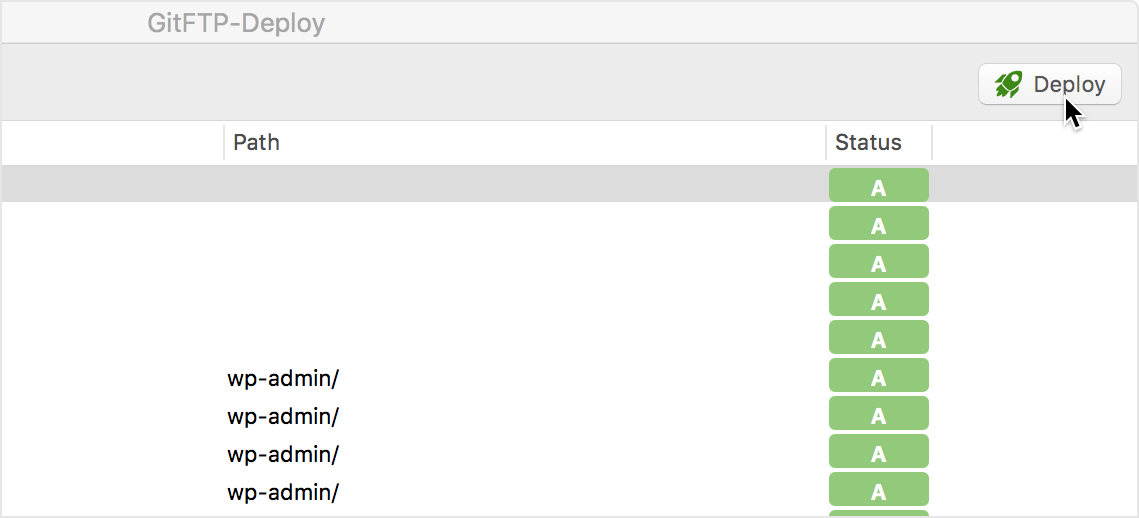
4. Deploy!
Deploy Uncheck file you want to exclude from being deployed. Click Deploy!